
Kitchen counter organization for small kitchens starts with one practical question: what needs to be easier tomorrow morning, not what would look best in a perfect photo. This guide keeps the setup realistic for small homes, rentals, and busy weeks.
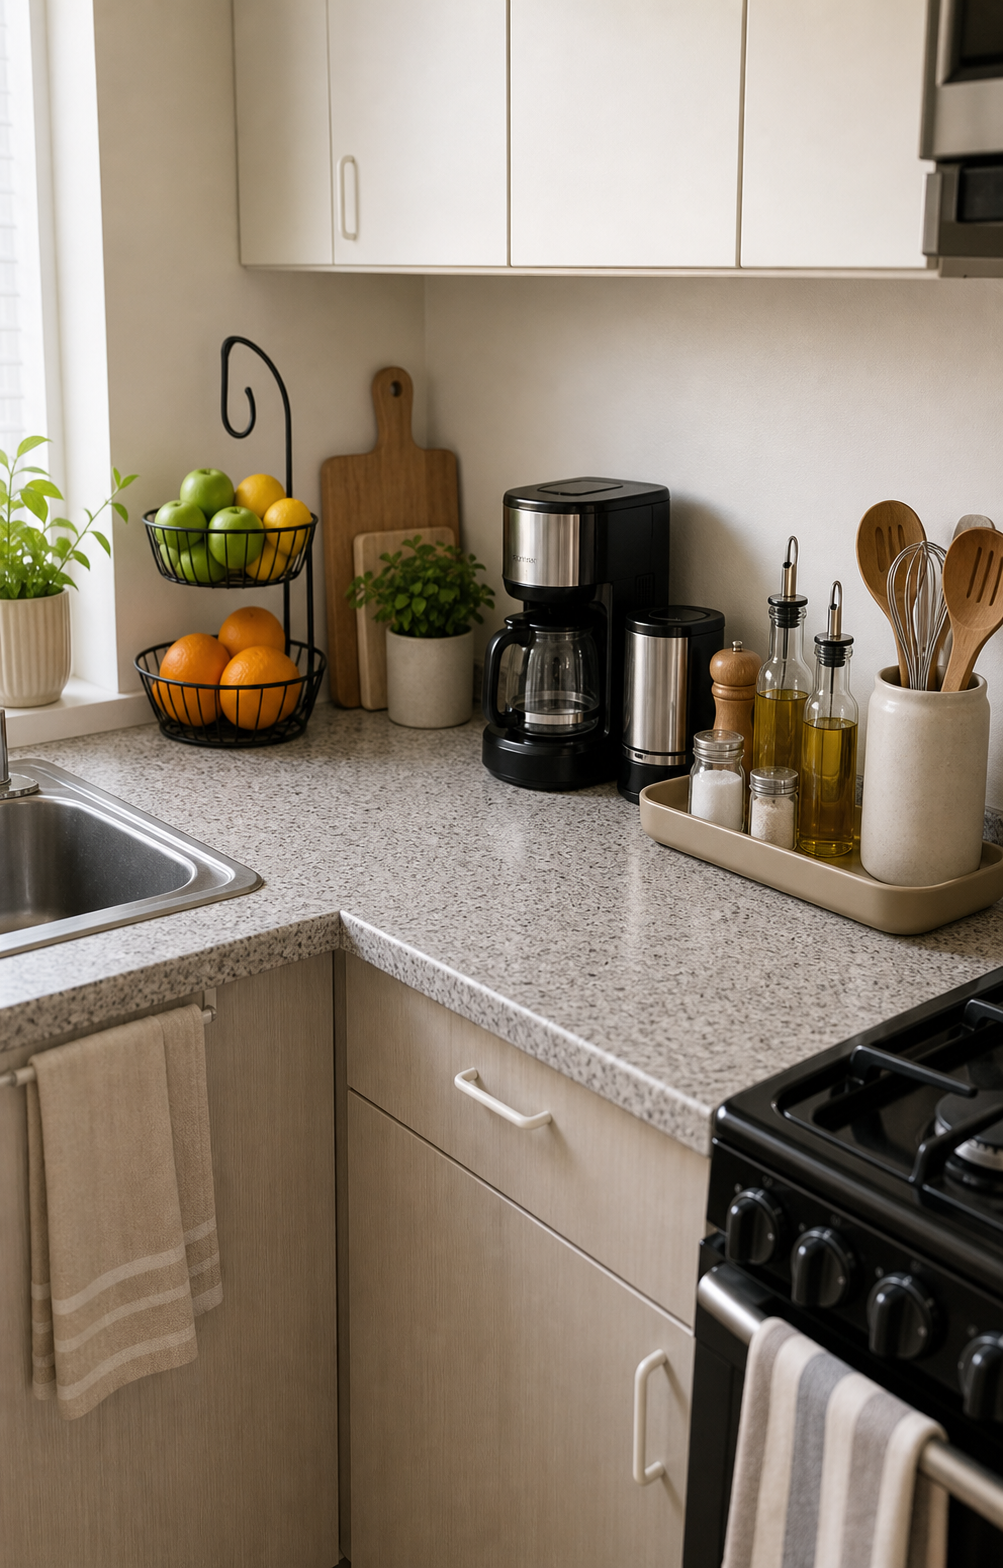
Table of Contents
Kitchen Counter Organization For Small Kitchens: Quick Answer
The best kitchen counter organization for small kitchens plan protects the easiest space for daily use, moves overflow one step away, and uses containers that can be reset quickly. Start with the items you touch most often, then give backups and occasional items less convenient homes.
This guide keeps the advice focused on the room problem itself: what needs first reach, what can move to overflow, and which storage choice will still work after a busy week.
Start With The Prep Space You Actually Need
A small kitchen counter cannot hold everything and still work as a counter. Start by protecting one clear prep zone about the size of a cutting board. That open space matters more than another basket because it is where dinner, lunches, and quick breakfasts actually happen.
If the counter already feels full, remove appliances and decor before buying organizers. Put back only the items used daily. This keeps the system grounded in real movement instead of a styled photo.
Build One Daily Tray Zone
A tray is useful because it creates a boundary. Oils, salt, pepper, a small utensil cup, and a wipeable cloth can live together near the stove. When the tray is full, something has to leave instead of spreading across the counter.
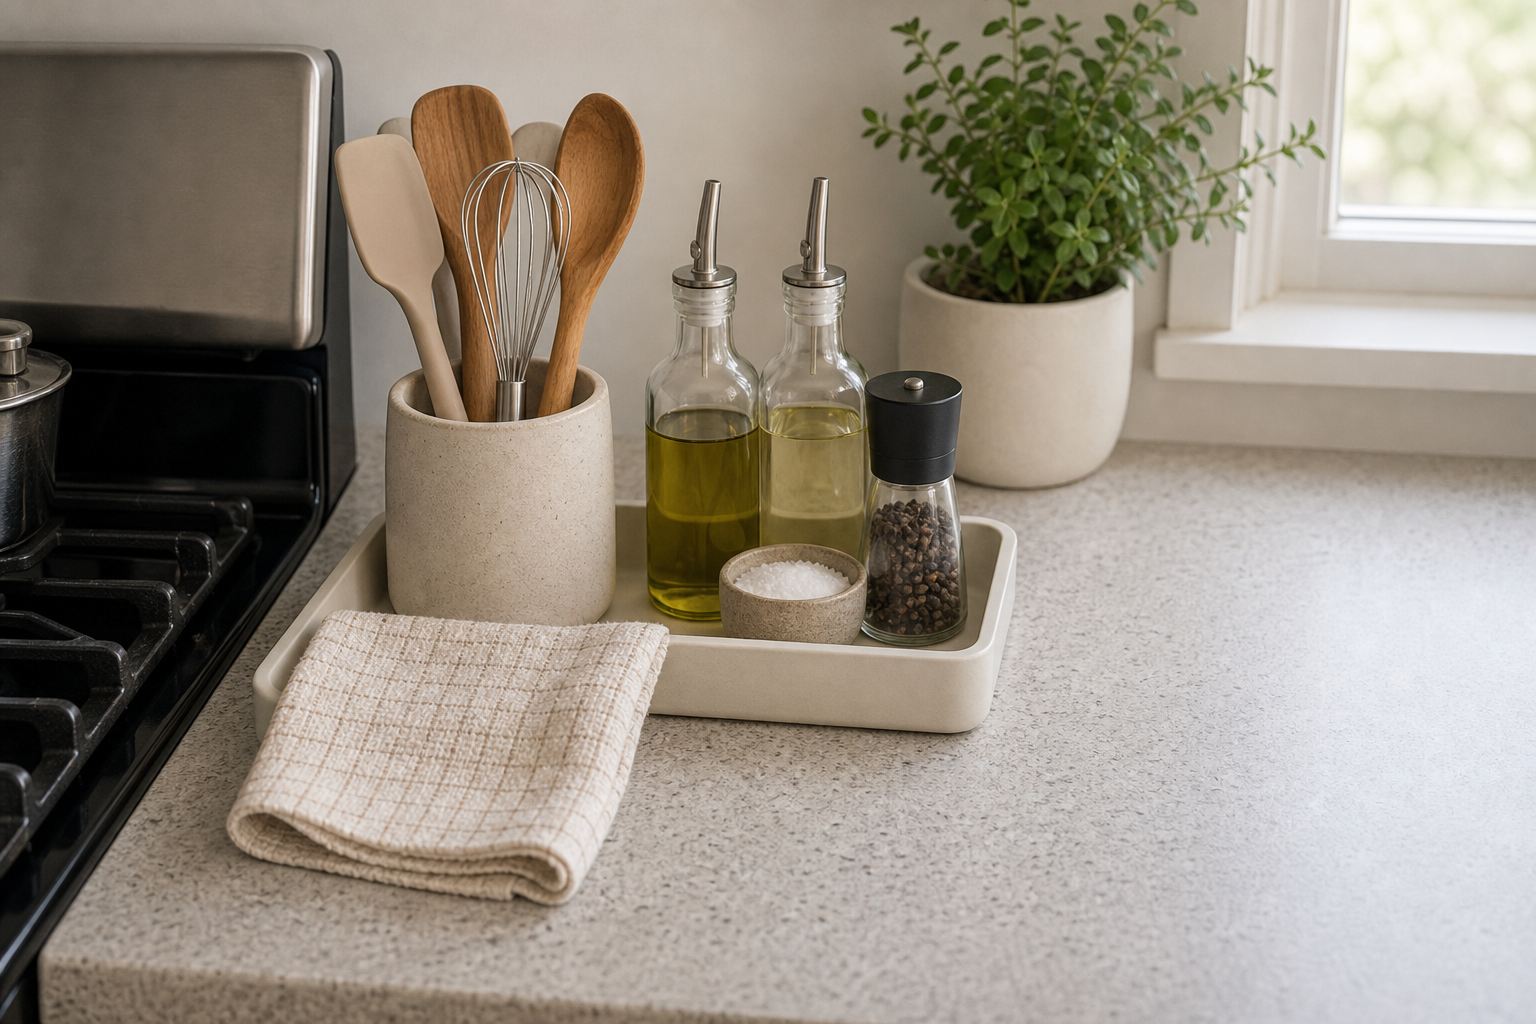
Choose a tray that is easy to lift with one hand. A heavy tray full of bottles becomes another obstacle during cleaning. Keep backups in a cabinet or cart, not on the daily tray.
Move Produce Vertical
Fruit bowls often sprawl across the most useful counter space. A tiered basket in a corner keeps produce visible while using height instead of width. Use it only for food that belongs at room temperature.
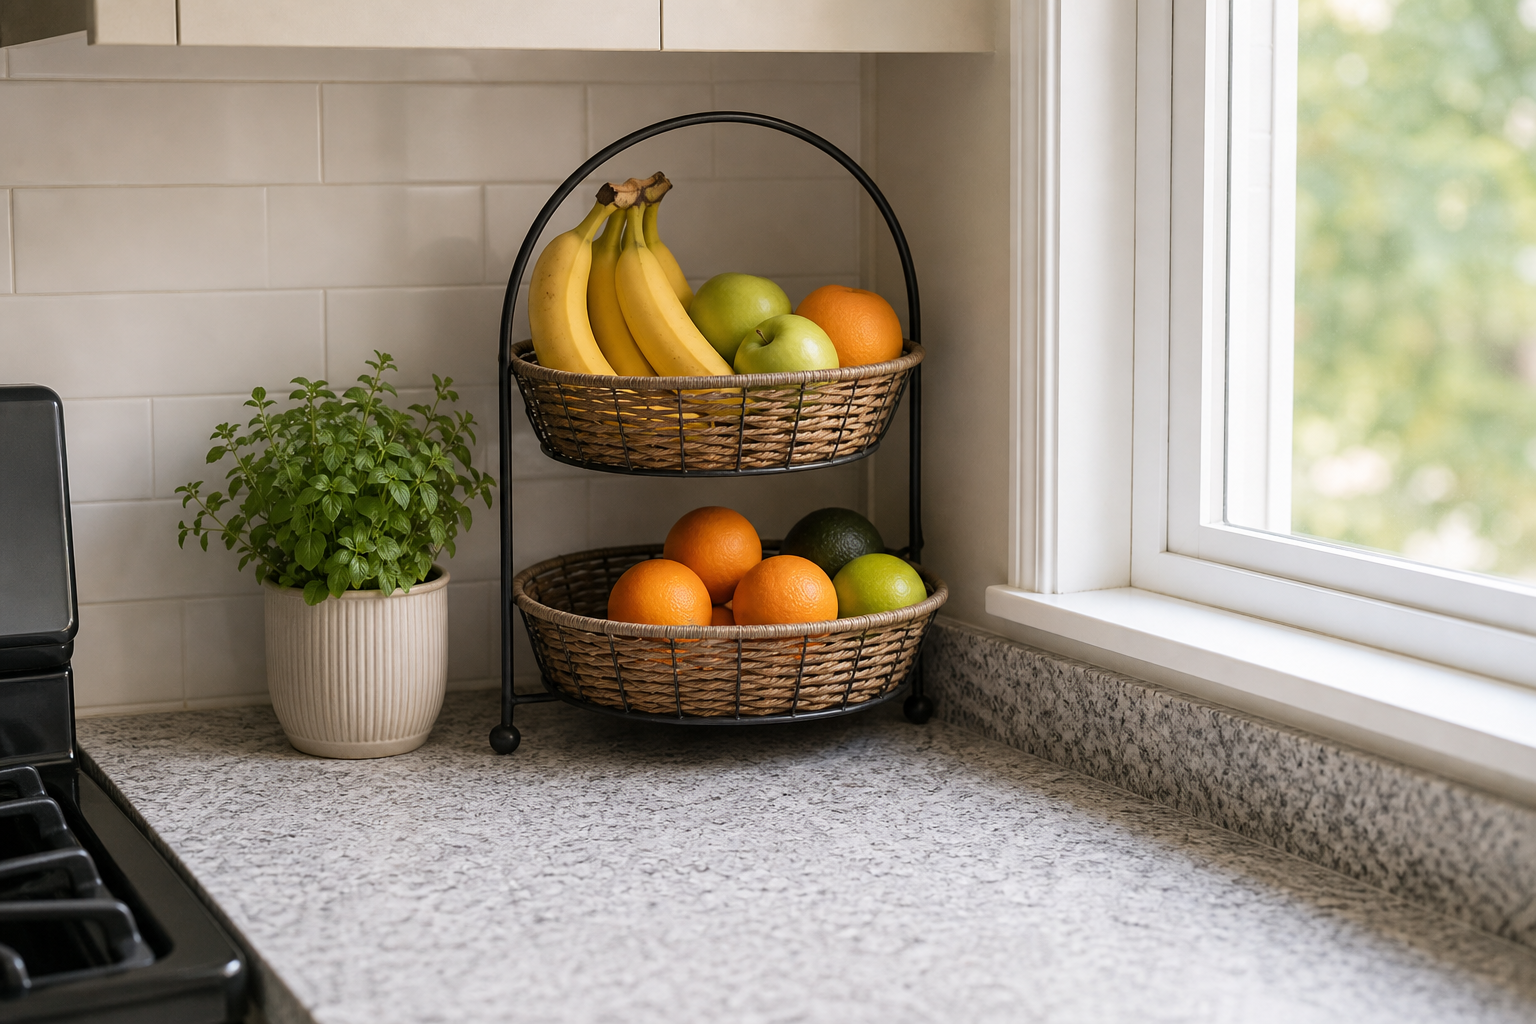
If produce regularly goes bad, reduce the amount stored on the counter. The goal is visibility and rotation, not a decorative pile.
Limit Appliances To The Ones Used Daily
Coffee makers, toasters, blenders, air fryers, and mixers can swallow a small counter. Keep only the appliances used most days in the open. Weekly appliances can move to a lower cabinet, rolling cart, or nearby shelf.
A counter appliance deserves a home only if it saves more time than the space it costs. If it blocks prep work, it is probably stored in the wrong zone.
Create A Landing Spot That Does Not Become Storage
Mail, keys, receipts, and bags drift into kitchens because the counter is flat and convenient. Give these items a different landing spot near the door or on a small tray away from the prep zone.
The kitchen counter should not become the household inbox. When paper lands there, cooking space disappears first.
Use Wall And Cabinet Space Carefully
Magnetic racks, cabinet hooks, and shelf risers can help, but they should support the counter rather than clutter the room. Store light repeat-use items vertically and keep anything heavy on a shelf, cart, or inside a cabinet.
Avoid adding so much vertical storage that the kitchen feels crowded. Small kitchens need visual quiet as much as extra capacity.
Reset The Counter Every Night
A counter system only works if it can be reset quickly. Put away dishes, return daily items to the tray, wipe the prep zone, and move paper out of the kitchen. This should take less than five minutes.
If the reset takes longer, there are too many categories on the counter. Remove one category before adding another organizer.
Quick Buying Checklist
Before buying anything for kitchen counter organization for small kitchens, measure the space and decide which category deserves the easiest reach. A product that technically fits can still fail if it blocks a door, drawer, cabinet, walkway, pipe, outlet, vent, or daily movement.
- Measure width, depth, and height before buying storage for kitchen counter organization for small kitchens.
- Choose freestanding, removable, or cabinet-supported storage when renting.
- Keep heavy items low and light repeat-use items higher.
- Leave one empty margin so the system can be reset without a puzzle.
- Take one phone photo after the reset so you know what the working version looks like.
What Not To Buy Yet
Skip any organizer that requires perfect habits. If the item has to be folded, aligned, nested, or returned with two hands every single time, it may not survive a normal week. The safest version of kitchen counter organization for small kitchens is usually boring, visible, and easy to restore.
Also avoid buying a full matching set before testing the layout. Matching bins can waste space when shelves, cabinets, counters, or closets have awkward dimensions. Test one zone first, then repeat what works.
Three Layout Recipes To Try First
The daily-use recipe: Put the five to ten items you touch most often in the easiest zone, then move everything else one step farther away. This recipe is best when the area looks cluttered even after you tidy it. It makes kitchen counter organization for small kitchens feel calmer because the visible space has fewer decisions.
The overflow recipe: Keep the main zone light and create one overflow spot for backups, seasonal items, or duplicates. The overflow spot should be easy enough to reach when you need a refill but inconvenient enough that it does not become daily clutter. This is especially useful in rentals and small rooms where one crowded shelf can make the whole space feel stuck.
The renter-safe recipe: Put weight on the floor, inside cabinets, on a dresser, or on freestanding furniture. Use removable products only for lightweight repeat-use items. This version protects the space and keeps kitchen counter organization for small kitchens from depending on an adhesive hook, a tight corner, or a product that only works in a staged photo.
Common Mistakes To Avoid
The first mistake is buying storage before removing duplicates. Extra bottles, extra linens, extra clothing, and extra tools make every organizer look too small. Edit the category first, then decide what size container it actually needs. The second mistake is hiding daily items too well. A closed bin can look tidy, but if it makes a daily item annoying to reach, that item will return to the counter, bed, floor, or nearest flat surface.
The third mistake is ignoring the reset path. If an item is easy to take out but hard to put back, the system will fail during a normal week. Good kitchen counter organization for small kitchens should make returning the item almost as easy as grabbing it. That usually means fewer categories, shorter stacks, lighter bins, and enough empty space for your hand to move.
A Simple Seven-Day Test
After setting up the first version, use it for a full week before buying more. Notice which items drift out of place, which containers are too full, and which categories still need a better home. A week of normal use tells you more than a perfect reset photo. If the same object lands in the same wrong spot three times, move the storage closer to that spot instead of blaming the habit.
At the end of the week, remove one item, resize one category, or move one container. Small adjustments work better than rebuilding the whole space. The goal is not a flawless shelf. The goal is a setup that still makes sense when you are tired, busy, or putting things away quickly.
Container Sizing Rules That Prevent Clutter
Containers should fit the category, not the other way around. A deep basket can hide too much, a narrow tray can become crowded, and a tall bin can make lower items disappear. Choose shallow containers for daily items, handled bins for pull-out categories, and open baskets only when the contents are easy to recognize at a glance.
Leave a little empty space in every container. The empty margin is not wasted space; it is what lets the system accept real life. If a bin is packed perfectly on day one, it will overflow as soon as laundry returns, groceries come home, or one extra backup item is added. A working setup needs room for the ordinary mess of a week.
How To Decide What Stays Visible
Visible storage is best for items used daily or items that are forgotten when hidden. Hidden storage is better for backups, seasonal items, occasional tools, and anything that creates visual noise. When a category is visible, keep it smaller and neater. When a category is hidden, make it easy to pull forward so the back of the shelf does not become a dead zone.
A good rule is to store by frequency first and by beauty second. The prettiest setup will not last if the most-used object is stored behind three other things. Place repeat-use items where your hand already goes, then use bins, trays, carts, or shelves to make that spot look intentional.
When To Stop Organizing
Stop when the space is easier to use, not when every product matches. The last ten percent of styling often adds the most cost and the least function. Matching labels, extra baskets, and decorative containers can wait until the basic system survives normal use.
If the area can be reset in a few minutes, if the main category is easy to find, and if the floor or counter is no longer catching overflow, the system is doing its job. Save the remaining budget for a problem that still slows down the household.
How To Keep The System Working
Give the setup seven days before calling it finished. Notice what lands on the floor, what stays on the counter, what never makes it back into a bin, and what you still cannot find. Those friction points show where kitchen counter organization for small kitchens needs a smaller category, a more visible container, or fewer items.
Once a week, remove trash and empty packaging, bring duplicates forward, return each category to its zone, and decide whether anything has outgrown its container. A good system is not a one-time makeover. It is a short reset that keeps kitchen counter organization for small kitchens from sliding back into clutter.
Helpful Sources And Related Guides
Use practical storage with common sense: keep heavy furniture stable, avoid moisture traps, and keep cleaning or food-related items in safe zones.
- EPA safer cleaning choices
- Renter Friendly Kitchen Storage No Drilling
- No Pantry Storage Ideas For Small Kitchens
- Kitchen
FAQ
How do you organize a very small kitchen counter?
Protect one clear prep zone, group daily cooking items on one tray, move produce vertical, and keep weekly appliances off the counter.
What should stay on a small kitchen counter?
Keep only daily-use items in the open: a small cooking tray, coffee items if used every morning, and one visible produce zone if it does not block prep work.
How do I stop kitchen counter clutter?
Give paper, bags, backups, and extra appliances homes outside the counter. A nightly reset works only when the counter has fewer categories.
Final Takeaway
Kitchen counter organization for small kitchens works when the setup is honest about space, weight, frequency, and daily habits. Start with the zone that bothers you most, make it easy to reset, and keep backup storage from taking over the easiest place to reach.